
You are viewing this post: Build a house youself.สร้างบ้านด้วยตนเอง part15(ทำห้องน้ำเอง แบบไม่มีเสา)ทำแบบไหน? | สร้าง บ้าน แบบ ง่ายๆ
Table of Contents
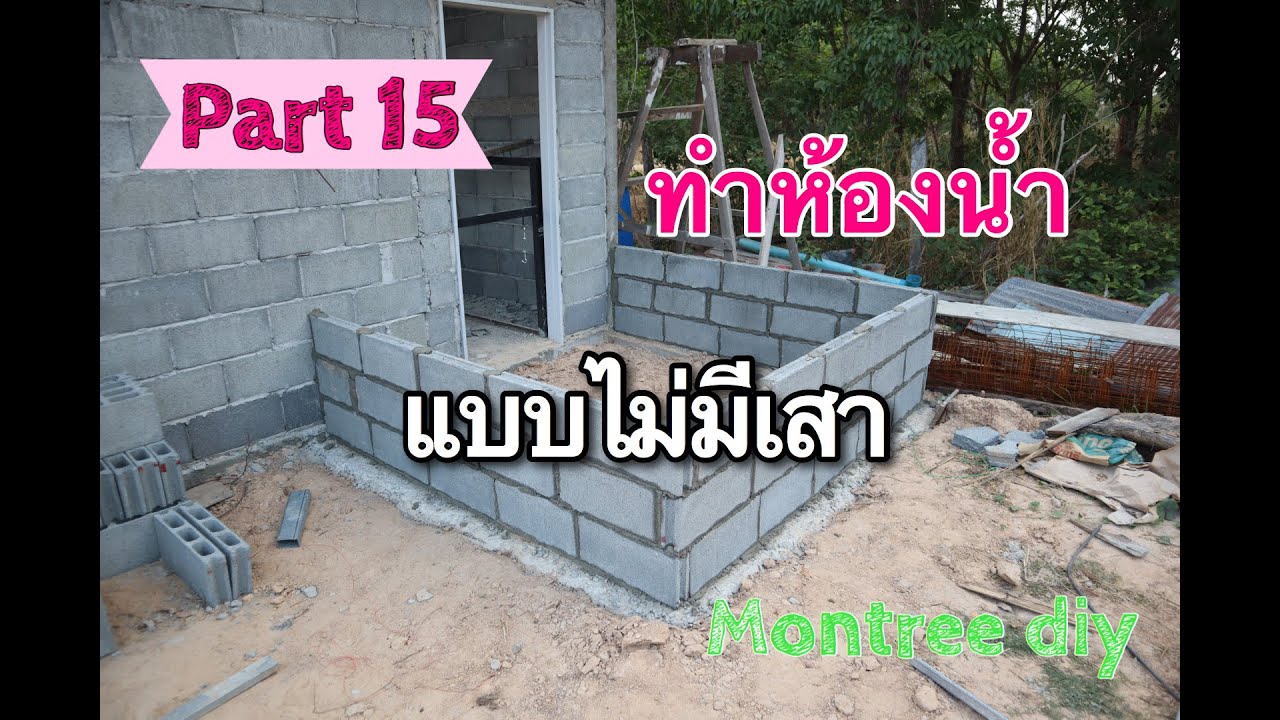
Build a house youself.สร้างบ้านด้วยตนเอง part15(ทำห้องน้ำเอง แบบไม่มีเสา)ทำแบบไหน?
นอกจากการดูบทความนี้แล้ว คุณยังสามารถดูข้อมูลที่เป็นประโยชน์อื่นๆ อีกมากมายที่เราให้ไว้ที่นี่: ดูความรู้เพิ่มเติมที่นี่
สร้างบ้านด้วยตนเองทำได้ง่ายๆ
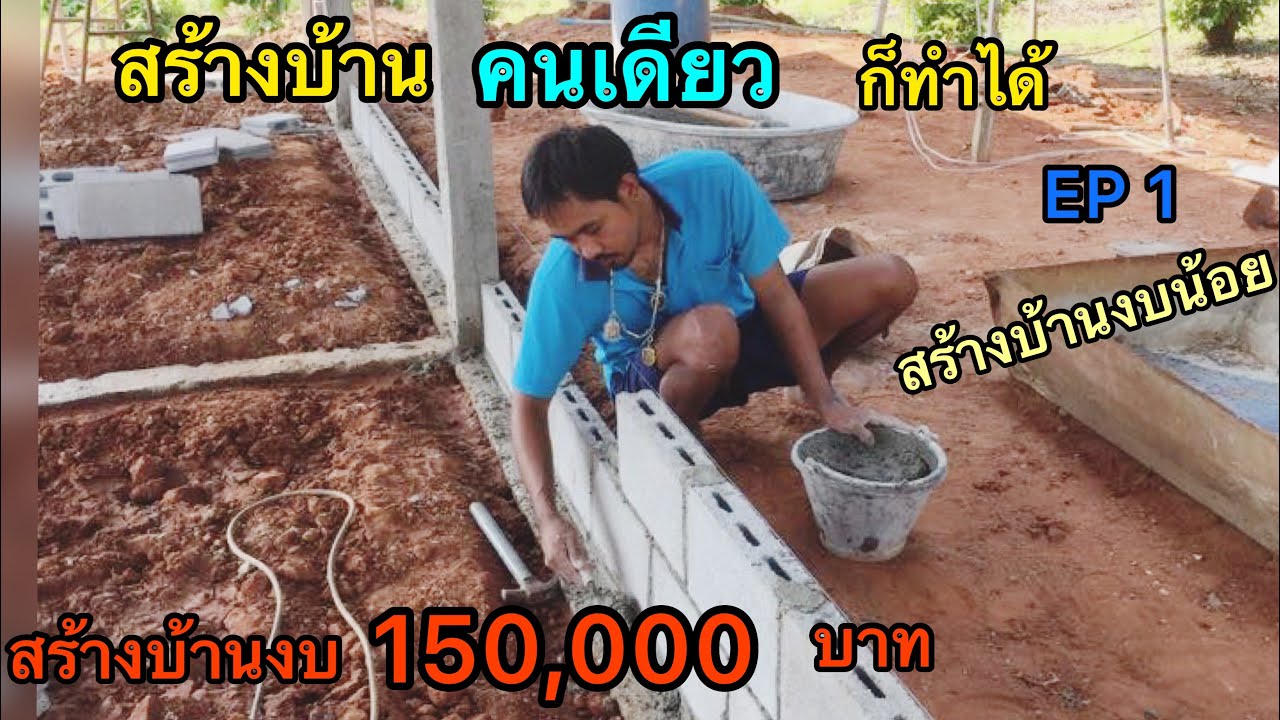
สร้างบ้านด้วยสไตล์โมเดิร์น งบ 150,000. (สร้างบ้านด้วยตัวคนเดียว)
สร้างบ้านเองเพื่อประหยัดงบ
สร้างบ้านอยู่เอง แบบประหยัด EP.2
สร้างบ้านอยู่เอง แบบประหยัด บอกรายละเอียดและงบประมาณ, ราคาวัสดุ

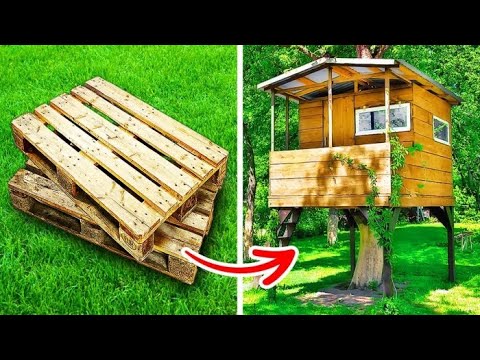
สร้างบ้านด้วยไม้พาเลท || โครงการและไอเดีย DIY จากไม้พาเลท
TIMESTAMPS:
00:04 วิธีสร้างบ้านต้นไม้
03:43 สระว่ายน้ำหลังบ้านจากพาเลท
07:23 วิธีสร้างลำโพงบลูทูธอัจฉริยะจากพาเลท
11:01 DIY บ้านหมา
วิดีโอนี้จัดทำขึ้นเพื่อความบันเทิงเท่านั้น เราไม่รับประกันเกี่ยวกับความสมบูรณ์,ความปลอดภัยและความน่าเชื่อถือต่างๆ ทุกการกระทำใด ๆ ที่คุณทำเกี่ยวกับข้อมูลในวิดีโอนี้ถือเป็นความเสี่ยงของคุณเองและเราจะไม่รับผิดชอบต่อความเสียหายหรือการสูญเสียใด ๆ ทุกอย่างถือเป็นความรับผิดชอบของผู้ชมในการใช้วิจารณญาณ,ความเอาใจใส่และความระมัดระวังหากคุณต้องการลอกเลียนแบบ
วิดีโอต่อไปนี้แสดงขึ้นโดยนักแสดงภายใต้สภาพแวดล้อมที่มีการควบคุมเป็นอย่างดี โปรดใช้วิจารณญาณในการรับชมและโปรดระมัดระวังหากคุณต้องการลอกเลียนแบบ
ชื่อผลิตภัณฑ์และบริษัททั้งหมดที่แสดงในวิดีโอ เป็นเครื่องหมายการค้า™ หรือเครื่องหมายการค้าจดทะเบียน® ของเจ้าของที่เกี่ยวข้อง การนำมาใช้ไม่ได้บ่งบอกถึงความเกี่ยวข้องหรือได้รับการรับรองแต่อย่างใด
กดติดตาม DIY 5 นาทีฉบับวัยใส: https://bit.ly/2PwPIby
ดนตรีโดย Epidemic Sound: https://www.epidemicsound.com/
ของในสต๊อก (รูปภาพ, วิดีโอ และอื่นๆ): https://www.depositphotos.com
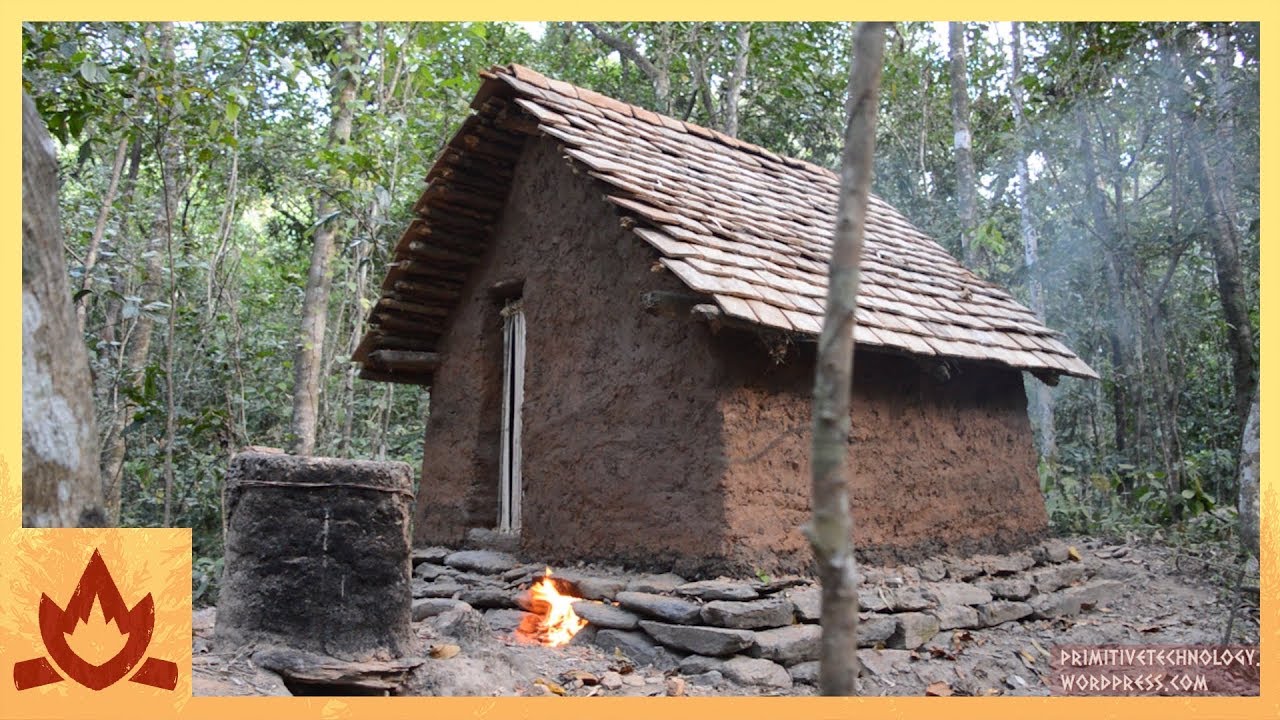
Primitive Technology: Tiled Roof Hut
I built this tiled roof hut in the bush using only primitive tools and materials. The tools I used have been made in my previous videos. It should be pointed out that I do not live in the wild and that this is just a hobby. It should be obvious to most that this is not a survival shelter but an experiment in primitive building technology.
To cut and carve wood I used the celt stone axe and stone chisel made in this video. To carry water and make fire I used pots and fire sticks made in this video. Finally, to store fire wood and dry, unfired tiles, I used the wood shed built in this video.
The wooden frame was built with a 2X2m floor plan and a 2m tall ridge line with 1m tall side walls. 6 posts were put into the ground 0.25 m deep. The 3 horizontal roof beams were attached to these using mortise and tenon joints carved with a stone chisel. The rest of the frame was lashed together with lawyer cane strips. The frame swayed a little when pushed so later triangular bracing was added to stop this. Also when the mud wall was built, it enveloped the posts and stopped them moving altogether.
A small kiln was built of mud from the ground and a perforated floor of clay from the creek bank. It was only 25 cm internal diameter and 50 cm tall. Clay was dug, broken tiles (from previous batches) were crushed and added to it as grog and it was mixed thoroughly.This clay was pressed into rectangular moulds made from strips of lawyer cane to form tiles. Wood ash prevented the clay sticking to the stone. 20 tiles were fired at a time. 450 flat tiles and 15 curved ridge tiles were made with only a few breakages. 26 firings were done in all and the average firing took about 4 hours. The fired tiles were then hooked over the horizontal roof battens.
An underfloor heating system was built into one side of the hut to act as a sitting/sleeping platform in cold weather. This was inspired by the Korean Ondol or “hot stone”. A trench was dug and covered with flat stones with a firebox at one end and a chimney at the other for draft. The flames travelled beneath the floor heating it. After firing it for a while the stones stay warm all night with heat conducted directly to the sleeping occupant and radiating into the room.
The wall was made of clayey mud and stone. A stone footing was laid down and over this a wall of mud was built. To save on mud, stones were included into later wall courses. The mud was dug from a pit in front of the hut and left a large hole with a volume of about 2.5 cubic metres.
The finished hut has a swinging door made of sticks. The inside is dark so I made a torch from tree resin. A broken tile with resin on it acts as a small lamp producing a lot of light and little smoke. The end product was a solid little hut, that should be fire and rot resistant. The whole project took 102 days but would have taken 66 days were it not for unseasonal rain. For a more in depth description see my blog (https://primitivetechnology.wordpress.com/).
WordPress: https://primitivetechnology.wordpress.com/
Patreon page: https://www.patreon.com/user?u=2945881\u0026ty=h
I have no face book page. Beware of fake pages.
นอกจากการดูหัวข้อนี้แล้ว คุณยังสามารถเข้าถึงบทวิจารณ์ดีๆ อื่นๆ อีกมากมายได้ที่นี่: ดูบทความเพิ่มเติมในหมวดหมู่BUSINESS
Articles compiled by CASTU. See more articles in category: BUSINESS